How to Remove Vinyl or Linoleum Flooring Quickly and Easily
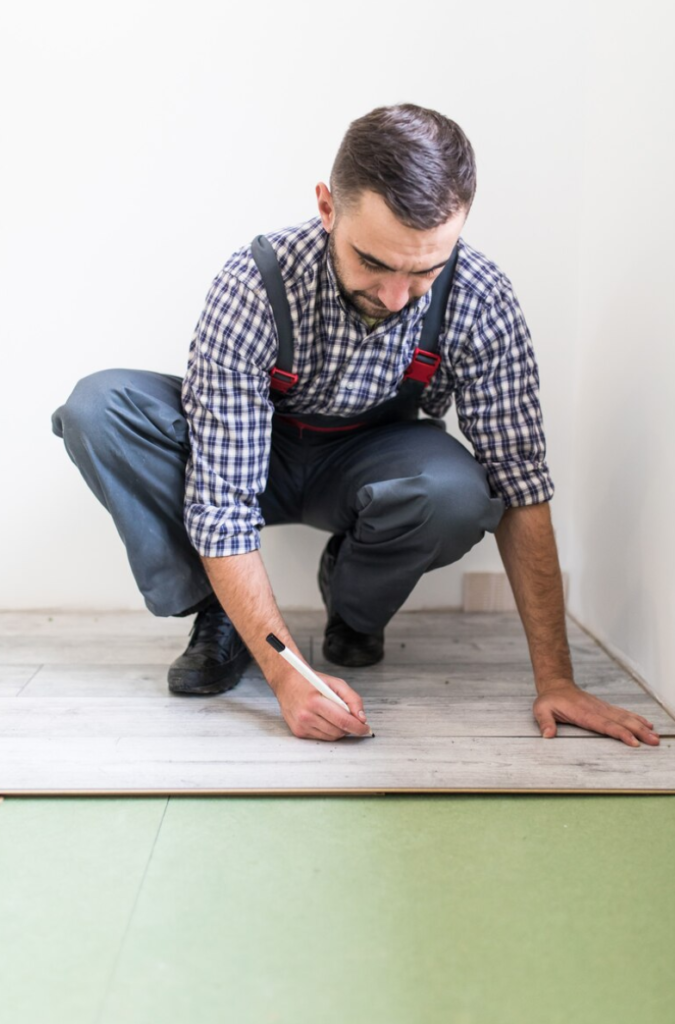
Are you looking to update your home with new flooring but don’t know where to start? Removing old vinyl or linoleum flooring can seem like a daunting task, but with the right tools and techniques, it can be accomplished quickly and easily. In this DIY guide, we’ll walk you through the process of removing your old flooring to make way for something new, and we’ll provide helpful tips along the way.

Gather Necessary Tools and Materials
Before you dive into the flooring removal process, it’s essential to have the right tools on hand. Here’s a list of essentials:
- Utility knife: For cutting along seams and edges.
- Pry bar: To lift and loosen the flooring.
- Paint scraper: For removing adhesive.
- Protective gear: Including gloves, safety glasses, and a mask to protect yourself from dust and potential hazards.
Remember: Proper ventilation is crucial during flooring removal. Open windows or doors to ensure good airflow and reduce the buildup of harmful fumes, especially if you’re using chemical strippers.
Clear the Area
To make the removal process smoother, start by clearing the area of any furniture, appliances, or other obstacles. Move these items to a different room or hallway to provide ample space to work.
Step-by-Step Process
1. Prepare the Area
Start by clearing the space of furniture and any obstacles. This will give you a safe and open area to work in. Make sure to turn off any heating or electrical elements to avoid any hazards during removal.
2. Score the Flooring
Using a utility knife, score the vinyl or linoleum flooring into manageable strips. This will make it easier to lift and remove. Aim for strips about 6 inches wide.
3. Lift the Flooring
Begin at a corner of the room and carefully lift the scored sections using your floor scraper. If the adhesive is stubborn, use a pry bar to help lift the edges.
4. Remove Adhesive Residue
Once the flooring is removed, you may find adhesive residue on the subfloor. Apply adhesive remover according to the manufacturer’s instructions, and use the scraper to remove any leftover glue.
5. Dispose of Old Flooring
Now that your flooring is out, it’s time for disposal. Consider renting a dumpster from Dumpsters Wiz to easily dispose of the old flooring material and adhesive. This will save you trips to the landfill and ensure proper disposal.
Conclusion
Removing vinyl or linoleum flooring doesn’t have to be a stressful project. With the right tools and steps, you can achieve a clean slate for your new flooring. Plus, by renting a dumpster from Dumpsters Wiz, you can simplify the cleanup process and ensure an eco-friendly disposal of your old materials.
Ready to start your flooring project? Don’t let the hassle of disposal slow you down! Contact Dumpsters Wiz today for affordable dumpster rental options that will make your DIY project a breeze. Let’s help you create the home of your dreams!
For cheap dumpster rental, easy junk removal services, junk removal Melbourne Florida, junk removal Palm Bay Florida, and junk removal Viera East Florida, Demolition service Rockledge, hazardous materials cleanup, unattended death cleanup in Florida, or concrete demolition service, visit us for expert solutions prioritizing safety and efficiency.
Read more about: Step-by-Step Guide: How to Safely Dispose of Your Old Lawn Mower in Florida
